
Introduction
Every great website begins with a single spark — an idea. Maybe you’ve sketched your dream homepage on paper, designed it in Figma, or imagined a sleek digital experience that perfectly captures your brand. But turning that vision into a fully functional, responsive, and conversion-ready website? That’s often where the magic — and the challenge — begins.
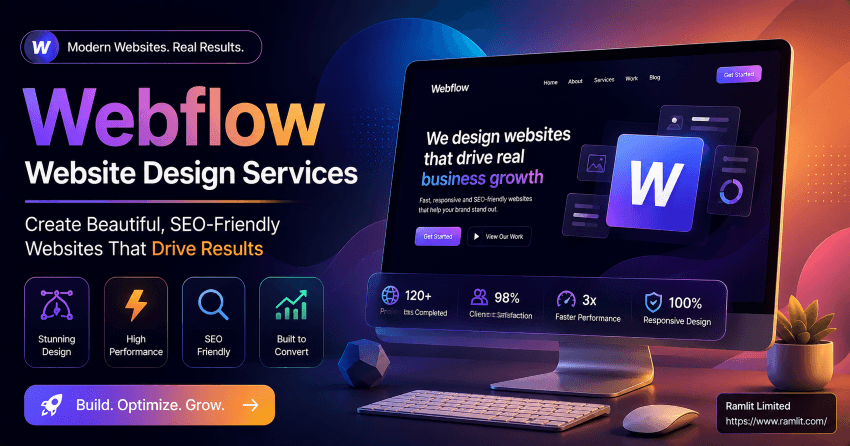
Enter Webflow, the all-in-one visual development platform that empowers creators to design, build, and launch websites visually — without needing to touch a single line of code (unless you want to).
In this guide, we’ll show you how to transform your creative ideas into stunning, high-performing Webflow websites — whether you’re a designer, startup founder, freelancer, or growing brand looking to stand out online.
By the end, you’ll know how to:
- Turn creative concepts into functional Webflow websites
- Master Webflow’s design tools and CMS
- Build a brand experience that converts visitors into loyal fans
- Use automation and integrations to save time and boost performance
Let’s get started and bring your ideas to life — beautifully.
Why Webflow Is a Game Changer for Modern Website Creation
For years, creating a professional website meant juggling multiple tools: a design platform like Figma, a developer to code your vision, and a CMS for managing content.
Webflow changed everything. It bridges design and development into a single, no-code platform that gives you complete creative control — from layout to animations to SEO.
Here’s why Webflow is revolutionizing web creation in 2025:
- Visual development: Design and build simultaneously, with pixel-perfect precision.
- No code (but pro-level results): Drag-and-drop functionality meets developer-level control.
- Built-in CMS: Manage blogs, projects, or products effortlessly.
- Fast, secure hosting: Powered by AWS with global CDN for lightning speed.
- SEO-friendly: Custom metadata, clean code, and structured data built in.
In short: Webflow turns your ideas into working websites faster — and more beautifully — than any other platform out there.
Step 1: Start with Your Vision — Then Plan Your Experience
Before you dive into Webflow, you need a clear blueprint.
Ask yourself:
- What’s the purpose of my site? (Portfolio, ecommerce, landing page, blog?)
- Who is my ideal visitor?
- What action do I want them to take?
Once that’s clear, start mapping your customer’s journey — from the first impression to final conversion.
Pro Tip:
Use tools like Figma or Miro to wireframe your layout. Then, when you bring it into Webflow, you’ll already have a clear design direction.
Your idea doesn’t have to be perfect. Webflow makes iterating easy, so you can launch fast, test ideas, and refine based on data — not guesswork.
Step 2: Bring Your Idea to Life in Webflow
Once your vision is clear, it’s time to build. Webflow’s intuitive interface lets you design like a creative and develop like a pro — all in one place.
Here’s a roadmap for turning your concept into a Webflow masterpiece:
1. Set Up Your Workspace
Create your project, define global styles (fonts, colors, buttons), and ensure your brand identity is consistent.
2. Design Visually — No Code Needed
Drag-and-drop sections, div blocks, and components to shape your layout. Add hero sections, feature grids, or testimonials without a single line of code.
3. Use the Webflow CMS
Turn static designs into dynamic content. Perfect for blogs, portfolios, or ecommerce stores.
4. Add Animations and Interactions
Use scroll effects, transitions, and micro-interactions to make your site feel alive.
5. Test Responsiveness
Your site should look perfect on all devices. Webflow’s responsive preview mode makes this seamless.
Step 3: Optimize for Conversions
A stunning design means little if it doesn’t convert. Here’s how to make sure your Webflow site drives real business results:
Focus on User Experience (UX)
- Use clear navigation and consistent branding.
- Place your CTA buttons where users naturally pause.
- Avoid clutter — guide visitors to what matters most.
Build Trust Fast
- Add testimonials, case studies, and reviews.
- Use trust signals (certifications, media features, client logos).
Speed & Performance
- Compress images with Webflow’s built-in optimizer.
- Use lazy loading and CDN hosting for faster load times.
Data-Driven Design
Integrate Google Analytics or Hotjar to see what’s working — and where users drop off.
Step 4: Automate and Scale Your Webflow Site
Once your site is live, your next focus should be automation — saving time while improving performance.
Top Automation Ideas:
- Integrate with Zapier: Connect your forms to Google Sheets, CRMs, or email tools.
- AI content tools: Use AI-powered copy assistants to generate blog content faster.
- Email automations: Pair Webflow forms with platforms like Mailchimp or Klaviyo.
- Ecommerce automations: Auto-send order updates or abandoned cart emails.
Bonus: Webflow + AI
Webflow now supports AI-driven design suggestions and content automation, helping you refine layouts and create text faster than ever.
Step 5: Launch, Market, and Grow
Your website is live — now it’s time to get eyes on it.
1. SEO Setup
- Add meta titles and descriptions.
- Use semantic headings (H1, H2, H3).
- Submit your sitemap to Google Search Console.
2. Content Marketing
Create valuable content around your niche to drive traffic. Webflow CMS makes blogging seamless.
3. Social Proof
Showcase success stories and integrate social feeds to build credibility.
4. **Regular Updates
Keep your site fresh with new visuals, testimonials, and blog posts.
Common Mistakes to Avoid
- Over-designing: Simplicity builds trust.
- Ignoring mobile users: 70%+ of traffic comes from smartphones.
- Skipping SEO: A beautiful site without visibility is a missed opportunity.
- No clear CTA: Every page should drive one focused action.
- Not testing before launch: Always preview across browsers and devices.
Real Example: Turning Vision into Reality
Before: A freelance designer had a Figma prototype but no coding knowledge. Her brand felt stuck on static mockups.
After: Using Webflow, she built a fully responsive site in 10 days — complete with animations, blog CMS, and integrated email forms. Her leads grew by 250% within two months.
That’s the power of turning creative ideas into reality with Webflow.
Quick Takeaways
- Webflow bridges the gap between creativity and functionality.
- You don’t need code to create world-class designs.
- Use automation and CMS to save time.
- Prioritize UX, speed, and SEO for growth.
- Launch fast. Test often. Iterate continuously.
Call to Action (CTA)
Your ideas deserve more than just a concept stage — they deserve a stunning Webflow website that captures attention and converts visitors into loyal fans.
Whether you’re launching a new brand, redesigning your portfolio, or scaling your online presence — **Webflow makes it simple, fast, and powerful.
👉 Ready to turn your vision into reality? Let’s design something extraordinary — together. click here
FAQ Section
Q1: Do I need to know coding to use Webflow? No. Webflow lets you design visually, but you can add custom code if you want more control.
Q2: How long does it take to build a Webflow site? Most small business sites can go live within 1–3 weeks, depending on complexity.
Q3: Is Webflow good for SEO? Absolutely. It generates clean HTML, allows custom metadata, and loads fast — ideal for Google rankings.
Q4: Can I migrate my existing website to Webflow? Yes. You can recreate your design or import assets, then rebuild with Webflow’s CMS and animations.
Q5: Is Webflow good for ecommerce? Yes, Webflow Ecommerce lets you manage products, track orders, and design custom checkout pages visually.